


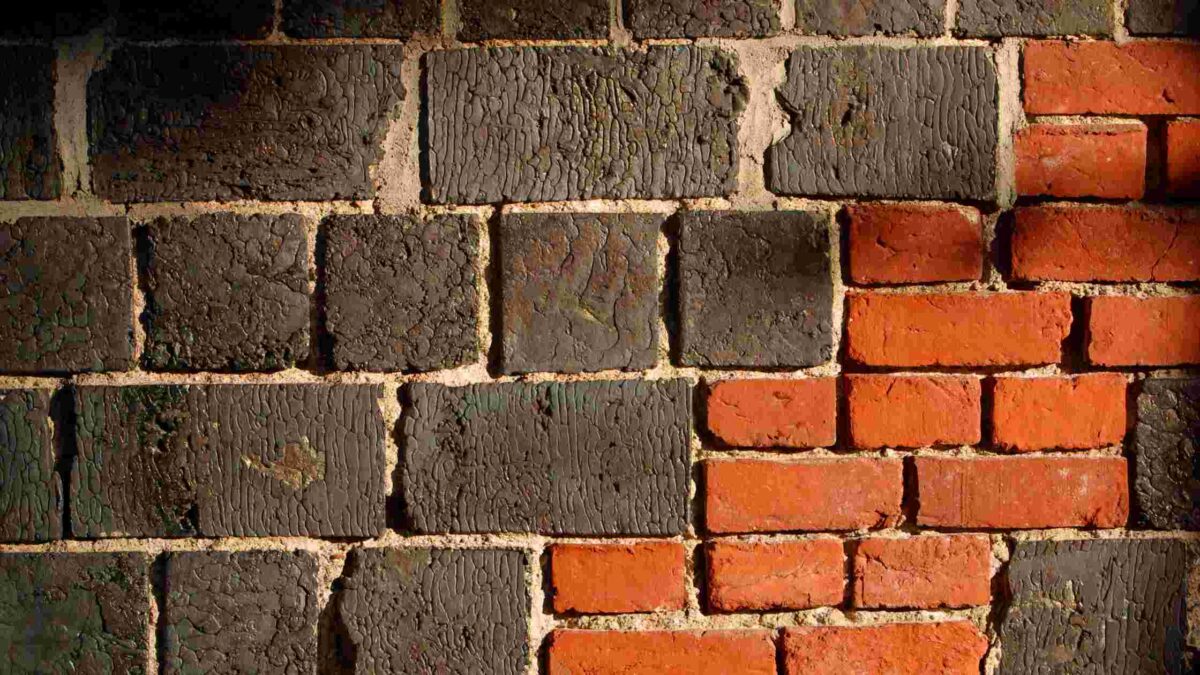
A damaged brick on your wall could cause eye shaming and possible danger. Chips, cracks or even crumbling could hinder the beauty of your house and, in extreme situations, permit water to enter. The good news is that replacing a damaged brick can be a simple DIY task with the proper tools and experience. This guide will take you through the steps of taking the damaged brick off and putting in a new one to ensure smooth and durable repair.
Before You Begin: Safety and Preparation
Safety is the most important thing to consider when working using the masonry. Here’s the things you’ll need prioritize:
- Safety Gear: Wear protective glasses gloves as well as a dust mask, to safeguard your hands, eyes and your lungs from debris and dust.
- Drop Cloth: Spread an untidy cloth in order to collect fallen debris and to protect the area.
- Work Area: Ensure that you have plenty of space for you to move around comfortably.
Tools and Materials
- Hammer Drill: Hammer drill crucial for breaking the mortar surrounding the brick that has been damaged.
- Masonry Drill Bit: Select the masonry drill bit that is compatible with the hammer drill size (typically between 8mm and 10mm).
- Masonry Chisel: A strong tool can be employed to break the brick damaged and to take away any remaining mortar.
- Hammer: The hammer can be employed in conjunction with the chisel.
- Pointing Trowel: Trowel assists apply and smooth the newly applied mortar.
- Brick Replacement: Choose the right brick replacement that will match the shape and size of your bricks. Take bricks you don’t want from an unnoticed part of your house or buy new bricks at a hardware store.
- Mortar Mix: Get ready-mixed mortar, or buy dry mortar mix, and follow the instructions of the manufacturer to mix.
- Level: A level can assure that the brick will be in line with the wall.
- Joint Tool (Optional): The joint tool is a great way to give a competent appearance to joint joints made of mortar.
- Damp Rag: A damp rag can be used to wash the area of work.
Assessing the Damage
The extent of the damaged brick’s condition will affect the method you choose to take for its removal. Consider these factors:
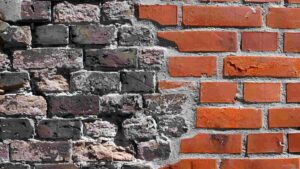
- Minor Cracks: Small hairline cracks may not require replacement. If they’re accompanied by a crumbling process or water infiltration, fix them immediately.
- Large Cracks or Chips: The damage may compromise an extensive part of the brick or expose the inside walls, repair is required.
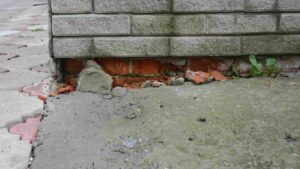
- Loose Brick: It is a brick that moves or is able to move easily demands immediate attention. It could signal structural issues or water damage to the brick.
Removing the Damaged Brick
- Isolating the Brick: Utilizing your hammer drill and a masonry bit, make several holes around the edges of the brick that is damaged and focusing upon the joints of mortar. Make sure to drill close to the brick that has been damaged in order to limit damage to the adjacent bricks.
- Breaking Up the Mortar: Take care to chisel off your mortar in between drill holes, gradually weakening holding of the damaged brick.
- Removing the Brick: When the mortar has broken Use the chisel as well as hammer to take out the damaged brick one by one. Take care to prevent any further damage to the surrounding bricks.
- Cleaning the Cavity: After the damaged brick has been removed, clean the cavity of remaining mortar particles. Make use of a brush or vacuum to get rid of particles and dust.
Preparing the New Brick and Mortar
- Matching the Brick: Choose an alternative brick that matches the color, size and texture of the existing bricks. If you’re with an old brick, assure it’s cleaned and free of mortar leftovers.
- Mixing Mortar: Make up mortar mix compatible to the instructions of the manufacturer. The consistency is similar to a little damp putty.
Installing the New Brick
- Mortar Application: With your trowel with a pointed tip to put a small layer mortar on the sides and bottom of the hole where the brick to be installed. The mortar should fill the gaps and provide an even foundation.
- Positioning the Brick: Install the brick into the wall cavity by gently tapping it using the trowel handle to assure the proper placement. Utilize a level to determine whether the brick is flush with the wall. Make any adjustments needed.
- Tooling the Joints: Once the brick is set and the joint tool is in place, you can use it (or a trowel with a pointing) to give a smooth, smooth and well-qualified look for mortar joints. The style should be similar to the joints that are already on your wall.
- Cleaning Up: When the mortar remains wet it is recommended to use a rag that is damp to clean any mortar off the brick’s surface and its surrounding areas.
Curing and Finishing Touches
- Curing the Mortar: Let the mortar fully cure alike with the manufacturers suggested drying time. It typically takes between up to 24 hours, depending on the weather conditions.
- Protecting the Wall (Optional): If the wall being repaired is exposed to elements, you can apply an impervious sealant that repels water to the mortar joints of the new construction for extra protection.
Additional Tips
- If you’re working on different broken bricks take care to work on them one by one beginning through the entire process from bottom to top in order to not disturb the bricks below.
- When you drill and chisel be aware of plumbing or electrical wires which could be concealed within the wall. If you are unsure, ask a competent person to get help.
- To assure a precise removal of the damaged brick, think about an angle mill equipped with the blade that is masonry. But this will require more ability and skill and you should assess your confidence degree prior to trying this method.
- If the brick that is damaged is close to a corner the brick may require extra support to support the brick during removal and placement. It is possible to use temporary wooden braces to stop the bricks around it from shifting.
When to Call a Professional
Although replacing damaged bricks is a do-it-yourself task, think about seeking skillful benefit when you encounter the following scenarios:
- Extensive brick damage: A large portion of your wall has been affected by damaged bricks and well-qualified mason will warrant an effective and sturdy repair.
- Structural concerns: If your damaged brick is affecting the structural strength of your wall getting in touch with a competent is essential to resolve the root of the issue and prevent any further issues.
- Lack of confidence: Insecurity feeling uneasy or don’t have the tools and talent to complete the task Don’t be afraid to employ an experienced mason to give you security.
Following these steps and taking into consideration the extra guidelines, you’ll be able to successfully tackle the task of fixing a damaged brick on your wall. Make sure you are safe and don’t be afraid to seek skillful benefits when you need it. A well-maintained brick wall will not only improve the appearance of your house, but will also guarantee its strength for many years to come.